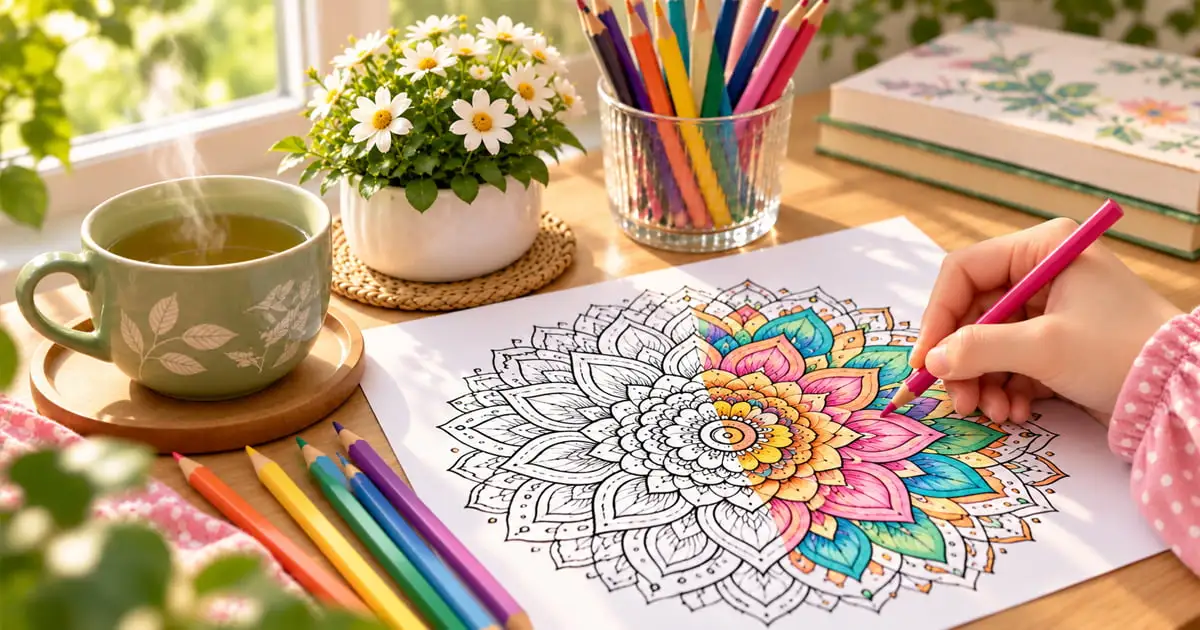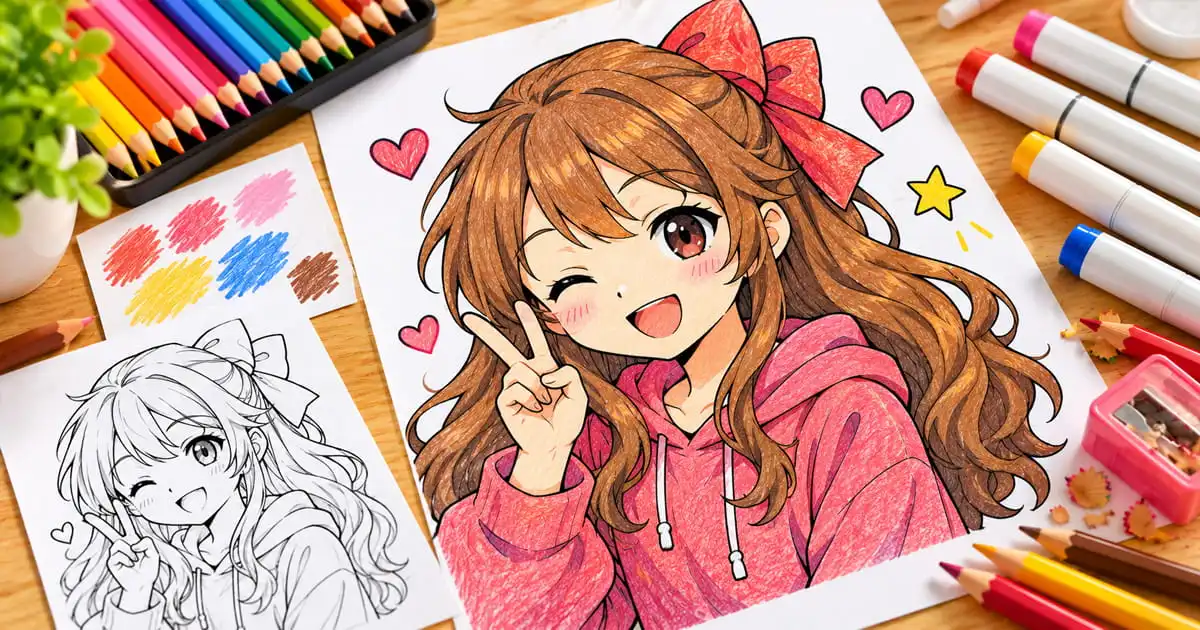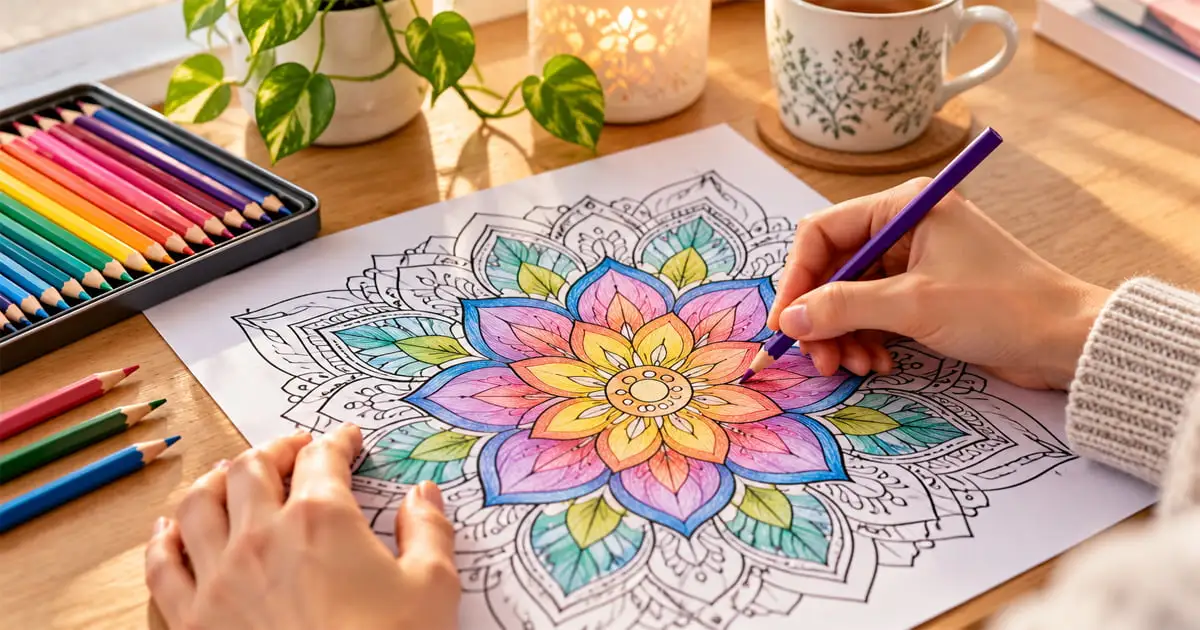
A dependable way to blend colored pencils is to layer two or more colors with light pressure, then press harder on the last layer to burnish them smooth, which is also Sarah Renae Clark’s go-to method. White pencils, colorless blender pencils, paper stumps, and solvents are add-ons that give different looks. This guide compares seven methods, walks through a two color blend on a printed coloring page, and lists fixes for common problems.
Method details come from Sarah Renae Clark’s comparison of 24 blending methods, tested on wax-based and oil-based pencils, plus Mont Marte’s coloured pencil guide, Derwent’s product pages for its blender and burnisher pencils, a Faber-Castell Polychromos tutorial, and artist Carrie L. Lewis’s article on solvents. Where a point is labeled editorial, it is ColoringPagesOnly’s judgment and not a claim from a cited source. Everything was checked against those pages in October 2026. For the basics of tools, shading, and color choice, see the coloring tips guide.
Seven Ways to Blend Colored Pencils
| Method | What the sources say | Watch for |
|---|---|---|
| Layering with light pressure | Where layered colors overlap they blend optically, and a lighter touch creates blends and gradients (Mont Marte). Layering and burnishing is Clark’s own go-to for bold color and control | Pencils cannot be physically mixed like paint, so the blend depends on the layers |
| Burnishing | Mont Marte builds up from pale to dark, then finishes with one firm pass so the pigment sinks into the paper’s tooth. Clark found it needs no extra tools, is easy to control, and gives vibrant color. Derwent sells a firm colourless burnisher pencil that polishes the layers | Once a page is burnished, it is hard to add more color. It uses a lot of pencil and takes longer (Clark) |
| White pencil | After the colors are down, Mont Marte goes over them with white, which gives a gentle, misty glaze, and then restores depth and adds highlights. Clark found it good for feathering shadows or fading to white | It can look milky and wash out bright colors (Clark) |
| Colorless blender pencil | Easy to learn, clean, and easy to store (Clark). Derwent describes its blender as a soft colourless pencil made from the binder used for its coloured pencils, which combines colors and softens harsh strokes and edges | It removes paper texture less well than solvents unless you burnish (Clark) |
| Paper stump | Mont Marte suggests a paper stump or blending tool when pressure alone is not enough to burnish. Clark found it best for softening light colors or light shadows | Stumps are designed for graphite, so Clark found them weak for colored pencil. Colors stain the stump (Clark) |
| Colorless alcohol marker | Almost as effective as solvents, easy to apply, fast drying, and good for base layers (Clark) | It takes practice, colors can drag together, and the marker stays stained. Do not use a marker from your alcohol marker set (Clark) |
| Solvents and oils | Solvents spread color like paint and save pencil and time (Clark). Mont Marte suggests rubbing alcohol or safflower oil on a cotton bud over dry colors, which thins the binder so the colors bleed together | A learning curve, mess, strong smells, and health risks. See the safety section below |
Clark’s overall verdict is that layering and burnishing remains her go-to, that blender pencils, solvents, and alcohol markers can speed up her workflow, and that no tool will fix messy blending without a light hand.
Blend Two Colors Step by Step
This sequence uses only pencils and works on printed coloring pages. It follows Mont Marte’s layering and burnishing guidance, and the steps marked editorial are ColoringPagesOnly’s suggestions.
- Choose two colors that sit next to each other on the color wheel, such as yellow and orange, and test both on scrap paper. This step is editorial.
- Fill the area with the lighter color using light pressure. Mont Marte advises building layers from light to dark.
- Add the darker color from the edge where you want the shadow, keeping the pressure light and easing off as you move toward the center. A lighter touch makes smoother blends and gradients (Mont Marte).
- Go back and forth between the two pencils, carrying the lighter color into the dark area and the darker color into the light area, until the join disappears. This step is editorial.
- If you want a softer join, go over it with a colorless blender or a white pencil (Clark, Derwent, Mont Marte).
- Finish by burnishing: press firmly on the last pass, or use a burnisher pencil. Finish all layering first, since burnishing leaves little room for more color (Mont Marte).
Wax and Oil Pencils Behave Differently
Clark tested a wax-based pencil (Prismacolor Premier Soft Core) and an oil-based pencil (Faber-Castell Polychromos). Faber-Castell’s tutorial says Polychromos pencils are oil based as opposed to wax based like other brands, which lets them blend with solvents in a way similar to oil paints, and that the artist first lays down several layers of pigment so the solvent has something to dissolve.
If you do not know which type of pencil you have, test your blending method on scrap paper before you use it on a page. This suggestion is editorial.
Choose Paper That Holds the Blend
Burnishing pushes color into the tooth of the paper (Mont Marte), so very smooth or thin paper gives you less to work with. Lewis found that Stonehenge, Canson Mi-Teintes, Pastelmat, and UArt worked with odorless mineral spirits, and she sees no need to blend very smooth Bristol vellum with solvent. Clark advises placing paper underneath your work in case a solvent leaks through.
For printed pages, heavier paper is a safer base when you plan to burnish or use any wet method. This is editorial, so test on a spare printout first. The printing guide covers paper and print settings.
Solvents and Household Items: Safety First
- Work in a ventilated area. Clark notes that some solvents have strong smells and health risks, and Lewis points out that odorless mineral spirits are odorless but not non-toxic, so keep containers sealed when not in use.
- Apply a small amount with a cotton bud and avoid overworking the pigment. Test on scrap paper first (Clark).
- In Clark’s test, baby oil worked very well in very small amounts but is greasy and easy to overdo. She found Vaseline underwhelming, and she found isopropyl (rubbing) alcohol a cheap alternative to colorless blenders with a strong smell.
- Editorial: skip solvents when coloring with children. Layering, a white pencil, and a blender pencil need no ventilation or special handling.
Common Blending Problems and Fixes
| Problem | Likely cause | Fix |
|---|---|---|
| White specks of paper show through | Layers have not covered the paper’s texture yet | Add more light layers, or burnish. Solvents remove paper grain, and blender pencils do so less well unless you burnish (Clark) |
| Colors look milky or washed out | Too much white pencil (Clark) | Use white only where you want a soft effect, then deepen the colors again, as Mont Marte advises |
| No more color will go on | The page has been burnished (Mont Marte, Clark) | Complete the layering first, and treat burnishing as the final step |
| A stump or blender marker leaves a dirty smear | The tool has picked up color (Clark) | Keep a clean stump for light colors. This is editorial |
| Light and dark colors turn muddy | Heavy dark pressure applied too early | Keep early layers light and add the dark color last. This is editorial |
| Paper feels greasy or soggy | Too much oil or solvent | Use very small amounts. Clark notes that oils can make paper greasy and are easy to overdo |
Practice on a Page Made for It
A page with petals or wings gives you several shapes where two or three colors can blend. Try Flower, Butterfly, or Mandala pages. If you want to practice on your own picture, the photo to coloring page guide shows how to make a custom page. For more pages, browse the Adult Coloring Pages collection.
Frequently Asked Questions
Can you mix colored pencils together?
Yes, by layering them. Where colors overlap on the paper they blend optically, but pencils cannot be physically mixed to make a new color the way paint can, as Mont Marte explains. A colorless blender or white pencil softens the overlap.
How do you blend colored pencils for beginners?
Start with layering. Lay one color down with light pressure, add a second color where they meet, and go back and forth between them. Press harder on the final layer to burnish, and use a white or blender pencil if you want a softer join.
What is the best tool for blending colored pencils?
There is no single best tool. Sarah Renae Clark’s go-to is layering and burnishing, which needs no extra tools, and her two favorite blender pencils were the Prismacolor Blender and the Caran d’Ache Full Blender. Solvents spread color like paint but come with smells and a learning curve.
How do you blend colored pencils without a blender?
Layer the colors with light pressure and burnish the last layer, or go over the layers with a white pencil. If pressure alone is not enough, a paper stump can help, according to Mont Marte.
Does Vaseline blend colored pencils?
Yes, but not well. Clark called Vaseline underwhelming in her test: it was messy and had a learning curve. Baby oil, used in very small amounts, worked much better for her.
Can baby oil be used to blend colored pencils?
Yes. Clark found that baby oil worked very well in very small amounts and suggested it as the best budget starting point, but it is greasy and easy to overdo. Test it on scrap paper first and keep spare paper under your page.
Can I use rubbing alcohol to blend colored pencils?
Yes. Mont Marte suggests rubbing alcohol or safflower oil on a cotton bud over dry colors, which thins the binder so the colors bleed together. Clark found isopropyl alcohol a cheap alternative to colorless blenders, with a strong smell, so work in a ventilated room.
How do you use a blender pencil with colored pencils?
Layer your colors first, then go over the area with the colorless blender. Derwent describes its blender as a soft colourless pencil made from the binder used for coloured pencils, which combines colors and softens harsh strokes and edges. Derwent’s page gives no usage steps, so this order is an editorial suggestion.
Sources
- Sarah Renae Clark, “24 WAYS to Blend Colored Pencils (The Ultimate Blending Comparison)” (April 23, 2021, updated May 18, 2022): https://sarahrenaeclark.com/colored-pencil-blending-techniques/
- Mont Marte, “Coloured pencil techniques” (June 5, 2022): https://montmarte.com/blogs/tips-techniques/coloured-pencil-techniques
- Derwent, “Blender Pencil” product page: https://www.derwentart.com/en-gb/p/2301756/professional-products/accessories/blender-pencil
- Derwent, “Burnisher Pencil” product page: https://www.derwentart.com/en-gb/p/2301757/professional-products/accessories/burnisher-pencil
- Faber-Castell, “Ring Neck Pheasant Polychromos Tutorial”: https://fabercastell.com/blogs/creativity-for-life/polychromos-tips-pheasant-tutorial
- Carrie L. Lewis, “Blending Colored Pencil with Solvents” (January 11, 2025): https://www.carrie-lewis.com/blending-colored-pencil-with-solvents/